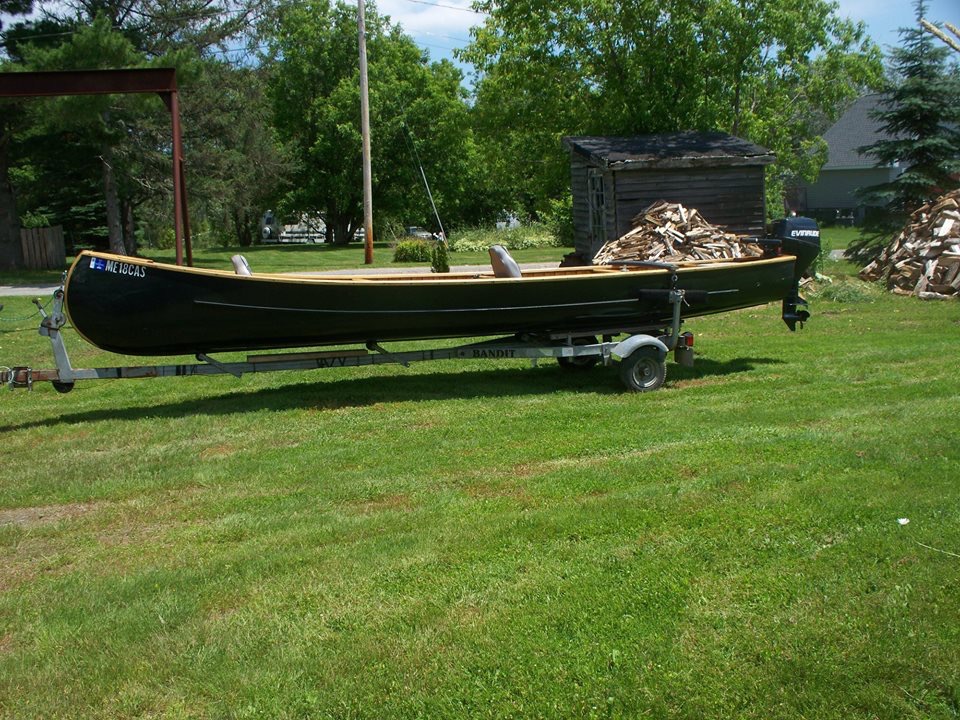
Not our usual fare, a strip built canoe landed on our doorstep one afternoon. Hard to pass up, as its a very well built stripper, with some nice details and a nice smooth outer skin. The inside has the usual bumps owing to the difficulty of laying, smoothing and filling near vertical surfaces with fiberglass and epoxy. Still, with cherry seats, decks and thwarts it will look nice with fresh varnish. The exterior has been painted, to our delight. While some folks prefer 'the beauty of the wood' under the clear glass, the many different strips of wood, from many trees, makes these the hot dog equivalent of a canoe. Essentially a sandwich , or wood core, construction - that is, a core material between two layers of fiberglass - the boat derives its strength not from ribs but the inner and outer layers of glass, in compression and tension respectively. The most common method of finishing is to varnish them and leave them clear.
Enter our affinity for black canoes, although traditionally built antique boats typically have too many lumps and bumps to look good gloss black. Strippers, however, are comparatively more static, with little or no material movement. This one will see us indulge our want of a black boat, with a two part polyurethane finish, polished brass stembands, and new white ash outer gunwales.
Not unlike traditionally built boats, while more durable when left to the elements, the wood parts that end up exposed suffer the same. This one needs new outer gunwales, tip work on the inners, the keel sealed with penetrating epoxy, and an overall sand and varnish.
That famous and familiar stripper interior, with 'football' shaped interior where the planks must fill the bottom. With no gored or spiled planks, the curve is carried to the centre line.
Nice upswept bow, the distinctive shape of Ted Moores design from his book Canoecraft
Sitting outside has taken its toll on the cherry gunwales, which had to be cut and split off the boat as they were screwed and bunged.
Carry thwart, center thward and seats, all from Cherry
Nice smooth hull, minimum preparation before the applicatoin of LPU.
Nicely outfitted with cherry.
Bow section showing the damage to the gunwales.
Selection of Japanese tools, for gunwale removal
Replacement parts! Prewoven cane, spline, paint and marine oil.
Just about the best paint going, Epifanes 2 part polyurethane will give great gloss, and abrasion resistance. A very tough 2 part coating.
Progress fell off for a while, but sanding is done
Ash gunewales coming back nicely, will look nice against new ash outwales.
Weapon of choice, Milwaukee random orbital sander

Next steps - epoxy seal inner and outer gunwales, varnish interior and seats/thwarts, then flip her over and sand the hull to prep for 2 part epoxy paint. Gonna be pretty...
Finally back at it, interior is wiped with thinner and a tack rag. Seat frames and thwarts, hanging nearby get the same treatment.
Half done, the wood coming up nicely.
Near the end of the first coat, new outer gunwales getting coated as well. Some yellowing in the interior cloth, common as these boats age. A few more coats and on to the outer hull.
Its finer in primer. One more step till the gloss black - quick hand sanding of the pimer that we tinted with black so it wasnt such a bright white.
Hanging nearby are the cherry seats and thwarts
Mixing Epifanes 2 part polyurethane. Not the best colour or finish for a traditionally filled canvas, but on a stable 'glassed stripper perfectly suited
Instant gloss!
Half done, a lot quicker than sanding the primer.
Glossy! first coat, thwarts back in. Seats next, then fit gunwales
Still to do: sand paint to prep for final coat, then hand sand interior, parts and gunwales for finish coats of varnish.
Then wait for winter to end - this one really is going on too long. Should have covered the
IC project!
Any shiny canoe looks great against the snow!
Classic lines of Ted Moores' Redbird design
Shiny, Shiny.
Cedar hull, ash inner and outer gunwales, all the rest black cherry.
Another one done.....